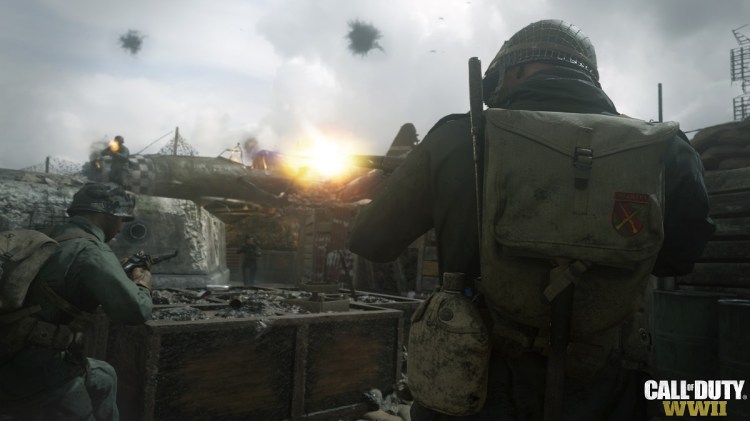
About three years ago, Sledgehammer Games and Activision decided to go back to the roots of Call of Duty in a setting in World War II. And with the revelation of Call of Duty: WWII’s multiplayer combat last week at the Electronic Entertainment Expo (E3), we finally have a good idea of what the decision means for “boots on the ground” combat.
At the big game trade show in Los Angeles. I played a few rounds of multiplayer on some close-combat maps, and then I interviewed Michael Condrey, co-CEO of Sledgehammer Games. Here are my impressions of the different matches we played.
Team deathmatch on Pointe Du Hoc
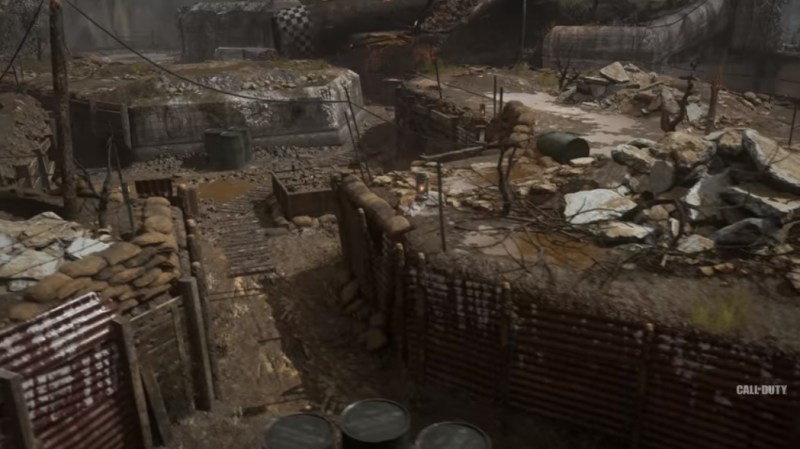
Above: Pointe Du Hoc
We started with a battle in the bunkers at Pointe Du Hoc, where the U.S. Army Rangers scaled cliffs and fought hand-to-hand. During the invasion of Normandy, the cliffs were considered a high-priority target because they reportedly had artillery guns that could have cut into the invasion fleet. The Rangers landed on boats and then climbed the 100-feet cliffs.
The battle began at the top, after the Rangers were already in the German trenches. I could choose from single-shot rifles such as M1 Garands, but I chose to start with a Thompson machine gun. It wasn’t really accurate at long distances, but this was a close combat map, which mostly consisted of bunkers connected by trenches. You could run above the trenches and move into a middle area too in hopes of outflanking the enemy. But this map was mostly about getting the drop on the enemy. There wasn’t much point in being a sniper on this map.
June 5th: The AI Audit in NYC
Join us next week in NYC to engage with top executive leaders, delving into strategies for auditing AI models to ensure fairness, optimal performance, and ethical compliance across diverse organizations. Secure your attendance for this exclusive invite-only event.
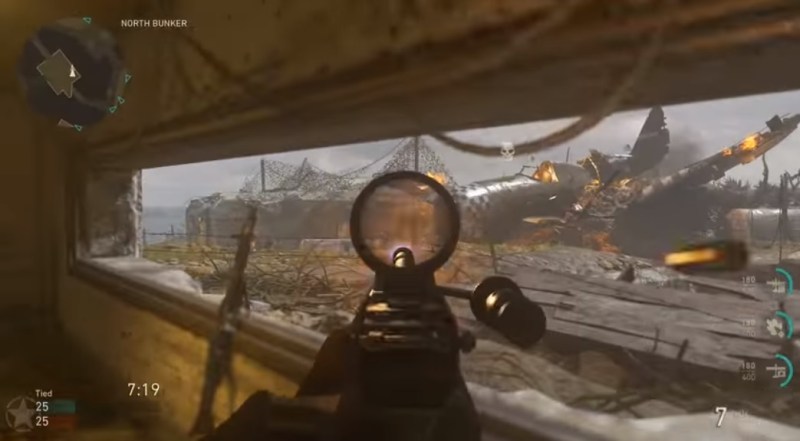
Above: Pointe Du Hoc action in Call of Duty: WWII.
The bunker complex was a big circle of bunkers and gun batteries, connected by trenches that were as tall as a man. There was one two-story bunker overlooking the complex. The graphics of the map look realistic, with the flaming ruins of a downed bomber giving off flames and smoke. There are no artillery guns there since, in the historical battle, the Germans had withdrawn them inland before the invasion.
I tried to stay alive and pull the trigger as fast as I could. But it was pretty fierce competition in the small room where we battled. A kid was in our group, and he was clearly doing much better than I was. The guns felt good and realistic, with some rumble. But there wasn’t so much kick that you couldn’t control the aiming. The sound was excellent, as you could hear every echo in the bunkers and the crackle of gunfire everywhere.
Every now and then I got lucky with a double kill. But I was getting hit by people who were better shots, and I got roasted by a flamethrower once. I closed out the match with seven kills and 14 deaths. That was a pretty sad performance, but not atypical for me in Call of Duty multiplayer. In spite of that performance, my team still won.
Stone ruins in the Battle of the Bulge
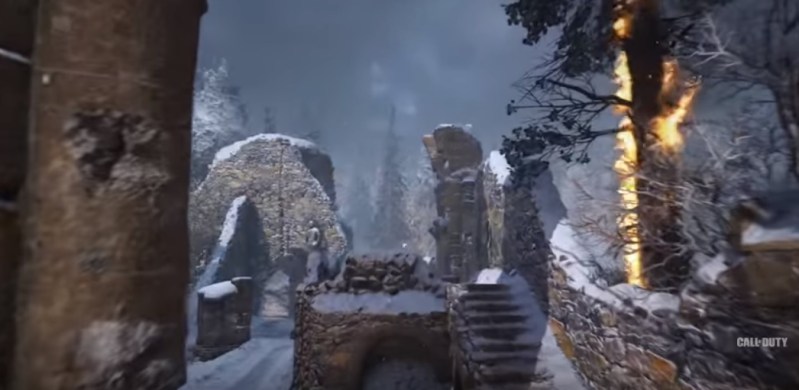
Above: A domination point is at the top of the stairs in the Ardennes map for Call of Duty: WWII.
Next, we played a round of domination in the ruins of a stone building in the snow of the Ardennes forest, the site of the Battle of the Bulge. I started out as a German soldier, which surprised me since I hadn’t really considered that possibility.
We were playing Domination, where you have to take and hold three points in the map. It was a small map, with just a couple of locations with wide open approaches. At these points, there were mounted machine guns. If you lay in wait with the MG-42s, you could dominate any of the attackers. But that was a tiny part of the map with a small field of view.
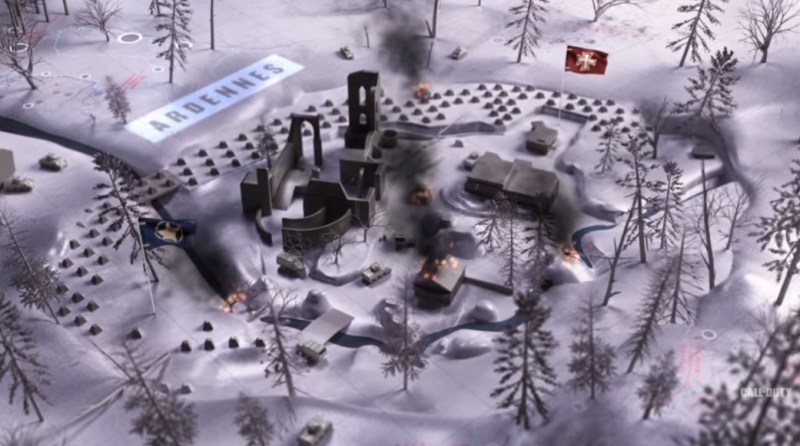
Above: The Ardennes map in Call of Duty: WWII.
We had smoke grenades, but our hand grenades were disabled in this map. There were some buildings and stone walls, but there wasn’t much point in staying still at any point in the map, as it was too easy to take someone out from behind.
I did well enough to get an air recon plane, which tells you where the enemies are on the map. Then I managed to get a couple of double kills in a row, and that enabled me to get a fighter attack reward. With that Killstreak reward, I was able to target a part of the map for a fighter attack. I was supposed to be able to pilot the attack and direct the strafing fire, but for some reason I wasn’t able to complete that part of the reward. But I was happy just to be able to get it.
My team went down in defeat in this match. I had a half-dozen captures, with 15 kills and 21 deaths.
War Mode
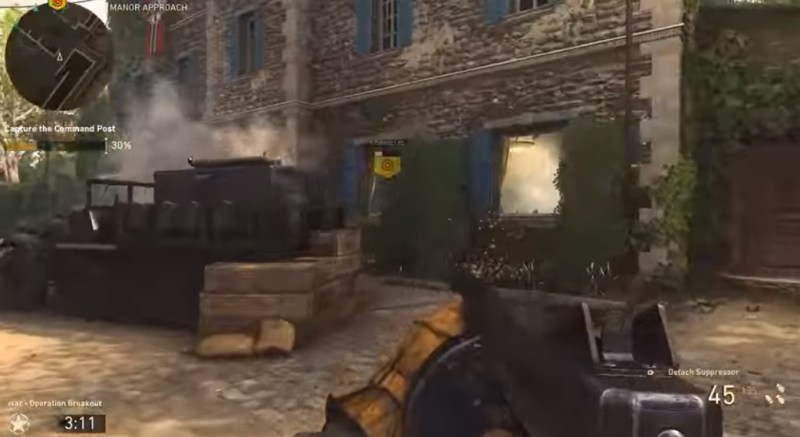
Above: War Mode in Call of Duty: WWII.
And we also played a War Mode map. In this mission, the Americans have to escort a Sherman tank through a ruined town to a church, where German antiaircraft guns are taking out American planes.
I played as an American soldier with a Thompson machine gun. Our first task was to take a two-story building that served as a command post. The Germans were able to set up defenses, such as boarding up the windows or blocking the doors. We assaulted. I kept looking for ways to hit the Germans on the flank. But that was harder to do if the window was boarded up. Once we were inside the building, the combat was really tight. It was a place where machine guns ruled.
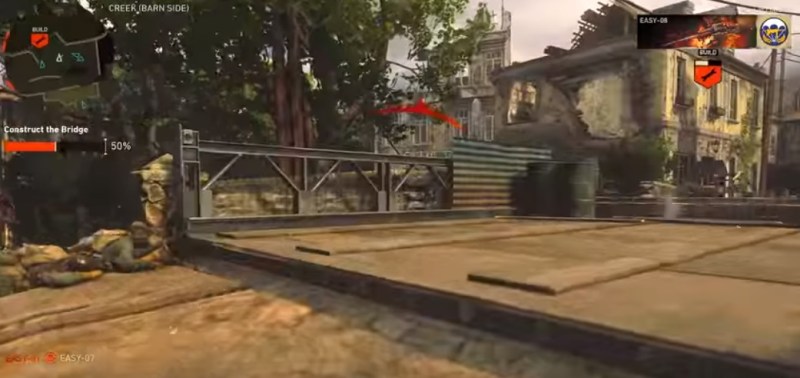
Above: Building a bridge in War Mode in Call of Duty: WWII.
We eventually took the building and moved on to the next stage of the battle, where we had to build a bridge across a dry creek bed so that our tank could cross it. That was a really difficult task, as the bridge builder had to lie prone in the middle of the battlefield and hope that comrades would offer covering fire.
The Germans had an advantage as they occupied a two-story ruin that gave them a clear shot at the approach to the bridge. I tried my usual flanking maneuver, but the angles of attack weren’t good. It was six-versus-six in terms of the player count, so every person matters.
We lost that battle, as we weren’t able to finish the bridge. At half-time, we switched sides to become the Germans. We found that it was very easy to defend at the bridge, as the enemies just couldn’t get near the bridge construction point. I was able to contribute to the bridge building a couple of times. I got 18 kills in the match, and who knows how many deaths.
These were all smaller, tighter maps with a lot of close combat. I am sure that the Sledgehammer folks are working on bigger maps, but these will be a welcome part of any multiplayer pack. Of course, War Mode bears resemblance to Battlefield multiplayer missions, but it is clearly the most tense and most fun of the modes shown so far.
